Learning the Brenizer Method | Panoramic Stitching Technique

I try to push myself to learn or improve upon a special technique or skill to step up my photography game and keep up with trends and the industry in general. For a couple years now, I have been working on refining my panoramic skills, specifically the Brenizer method, named after famed NYC photographer Ryan Brenizer who first created the technique. It’s essentially a bokeh panorama, where you combine a series of images, giving you a very shallow depth of field, a very wide angle, and lots of pseudo compression. I had the pleasure of attending one of my first ever workshops in New Orleans with Ryan and a bunch of other photographers from a Flickr! group back in 2009. I then got to hear him speak at Imaging last year as well, and his talk was incredible. I was with two of my best wedding photographer friends and we all agreed that it was like he was inside our heads.
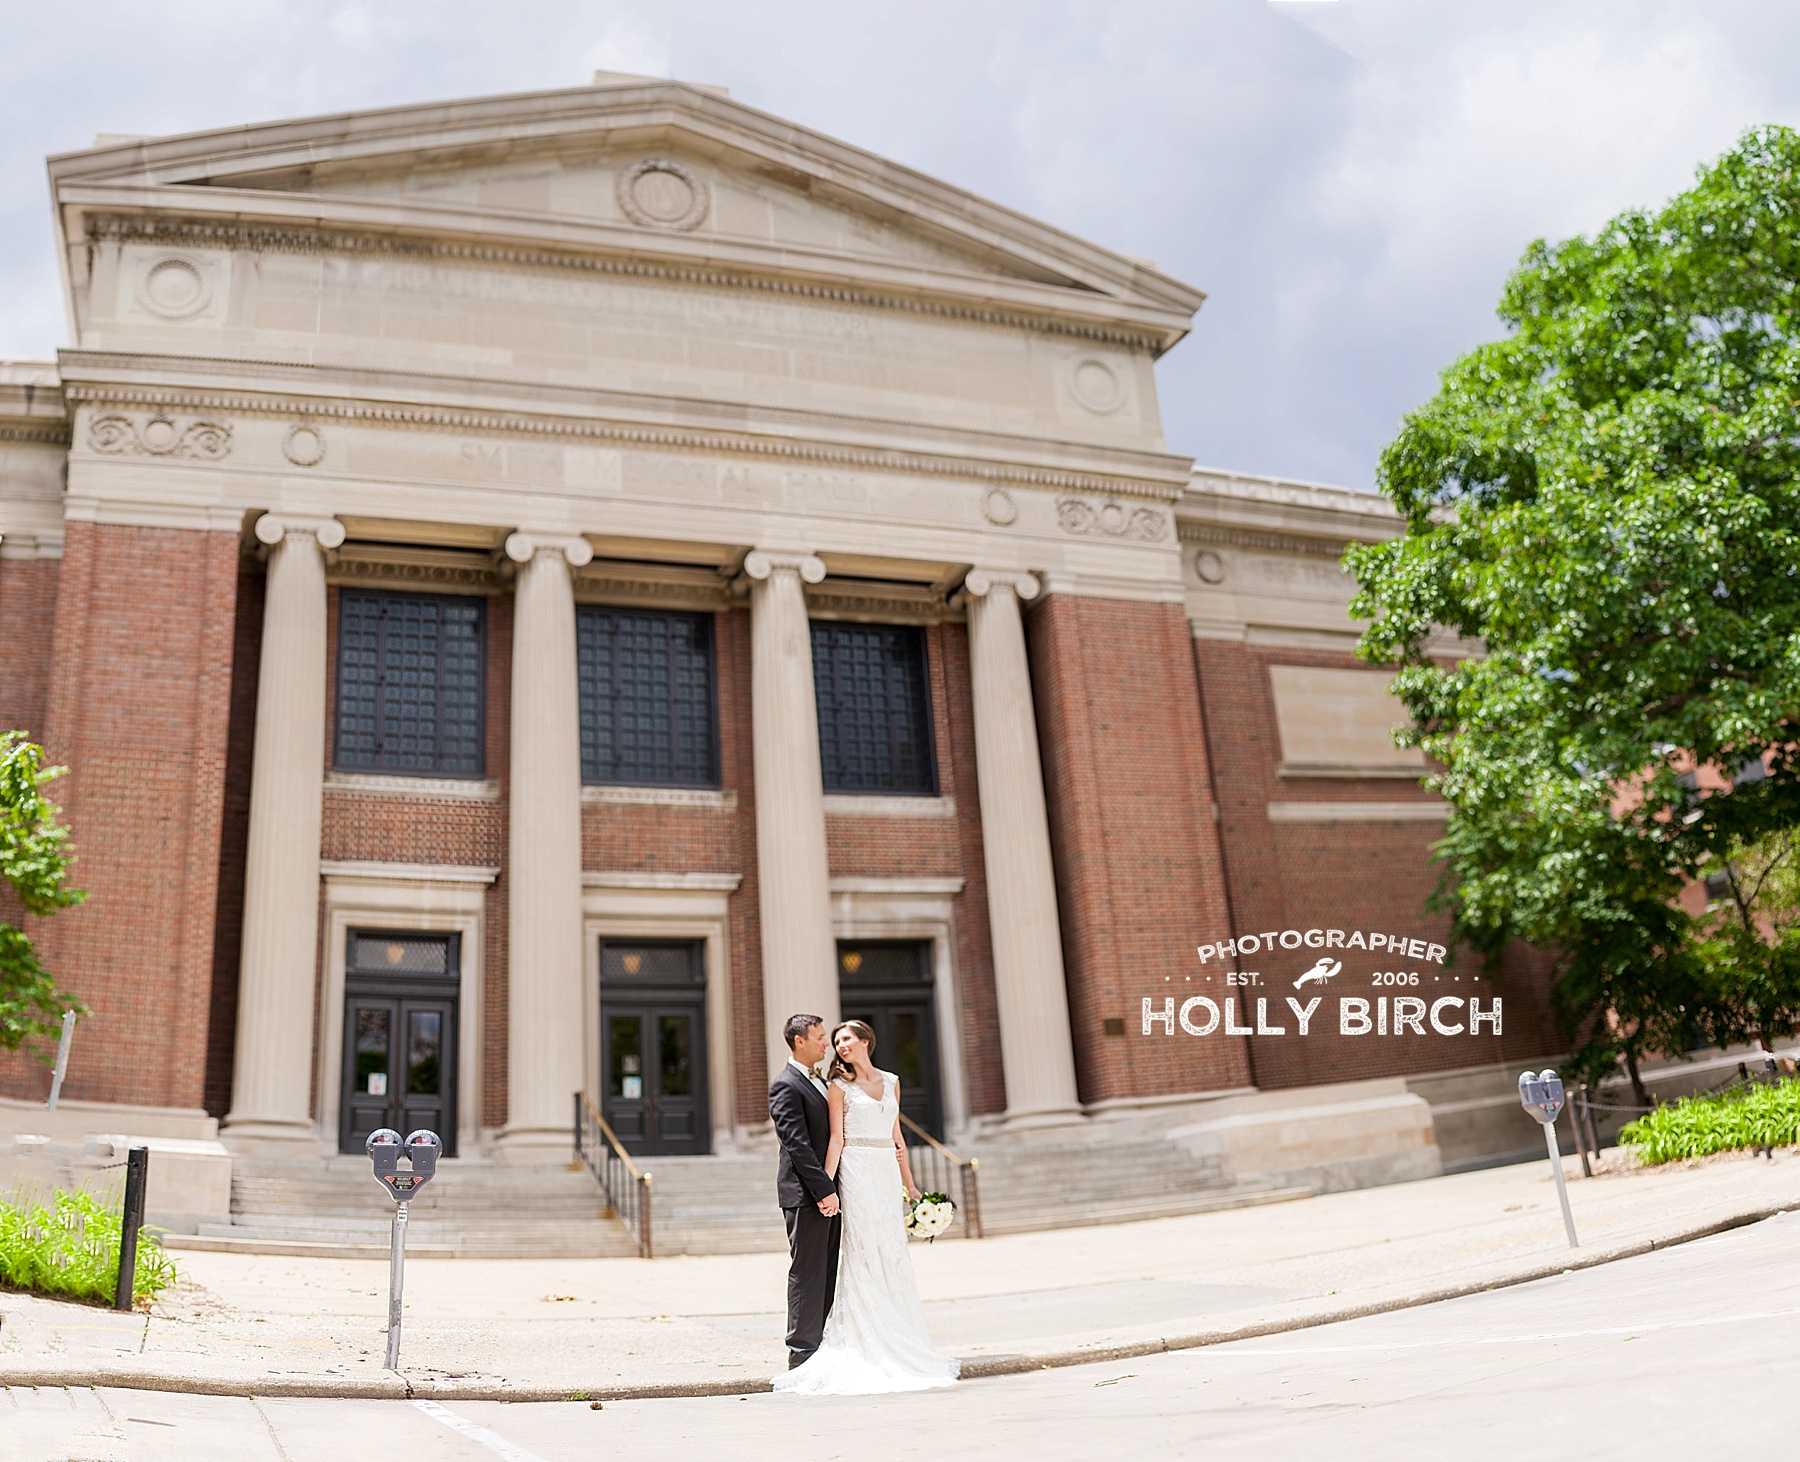
There are a bunch of different factors in play when setting up one of these images, and one of the trickiest for me has been knowing when to use it. It’s best to use a fast, longish lens (I try to use either my 85mm or my 70-200mm when composing one. From there, you set nearly everything as manually as you can before you start shooting. I use automatic focus and then use my back-button focus (which I almost always have on) to ensure that my focus doesn’t change as I’m capturing all the images that will later be stitched together. Manual white balance is best too so the camera doesn’t try to adjust your auto white balance as you move the lens, and of course a wide manual aperture and appropriate shutter speed to match.
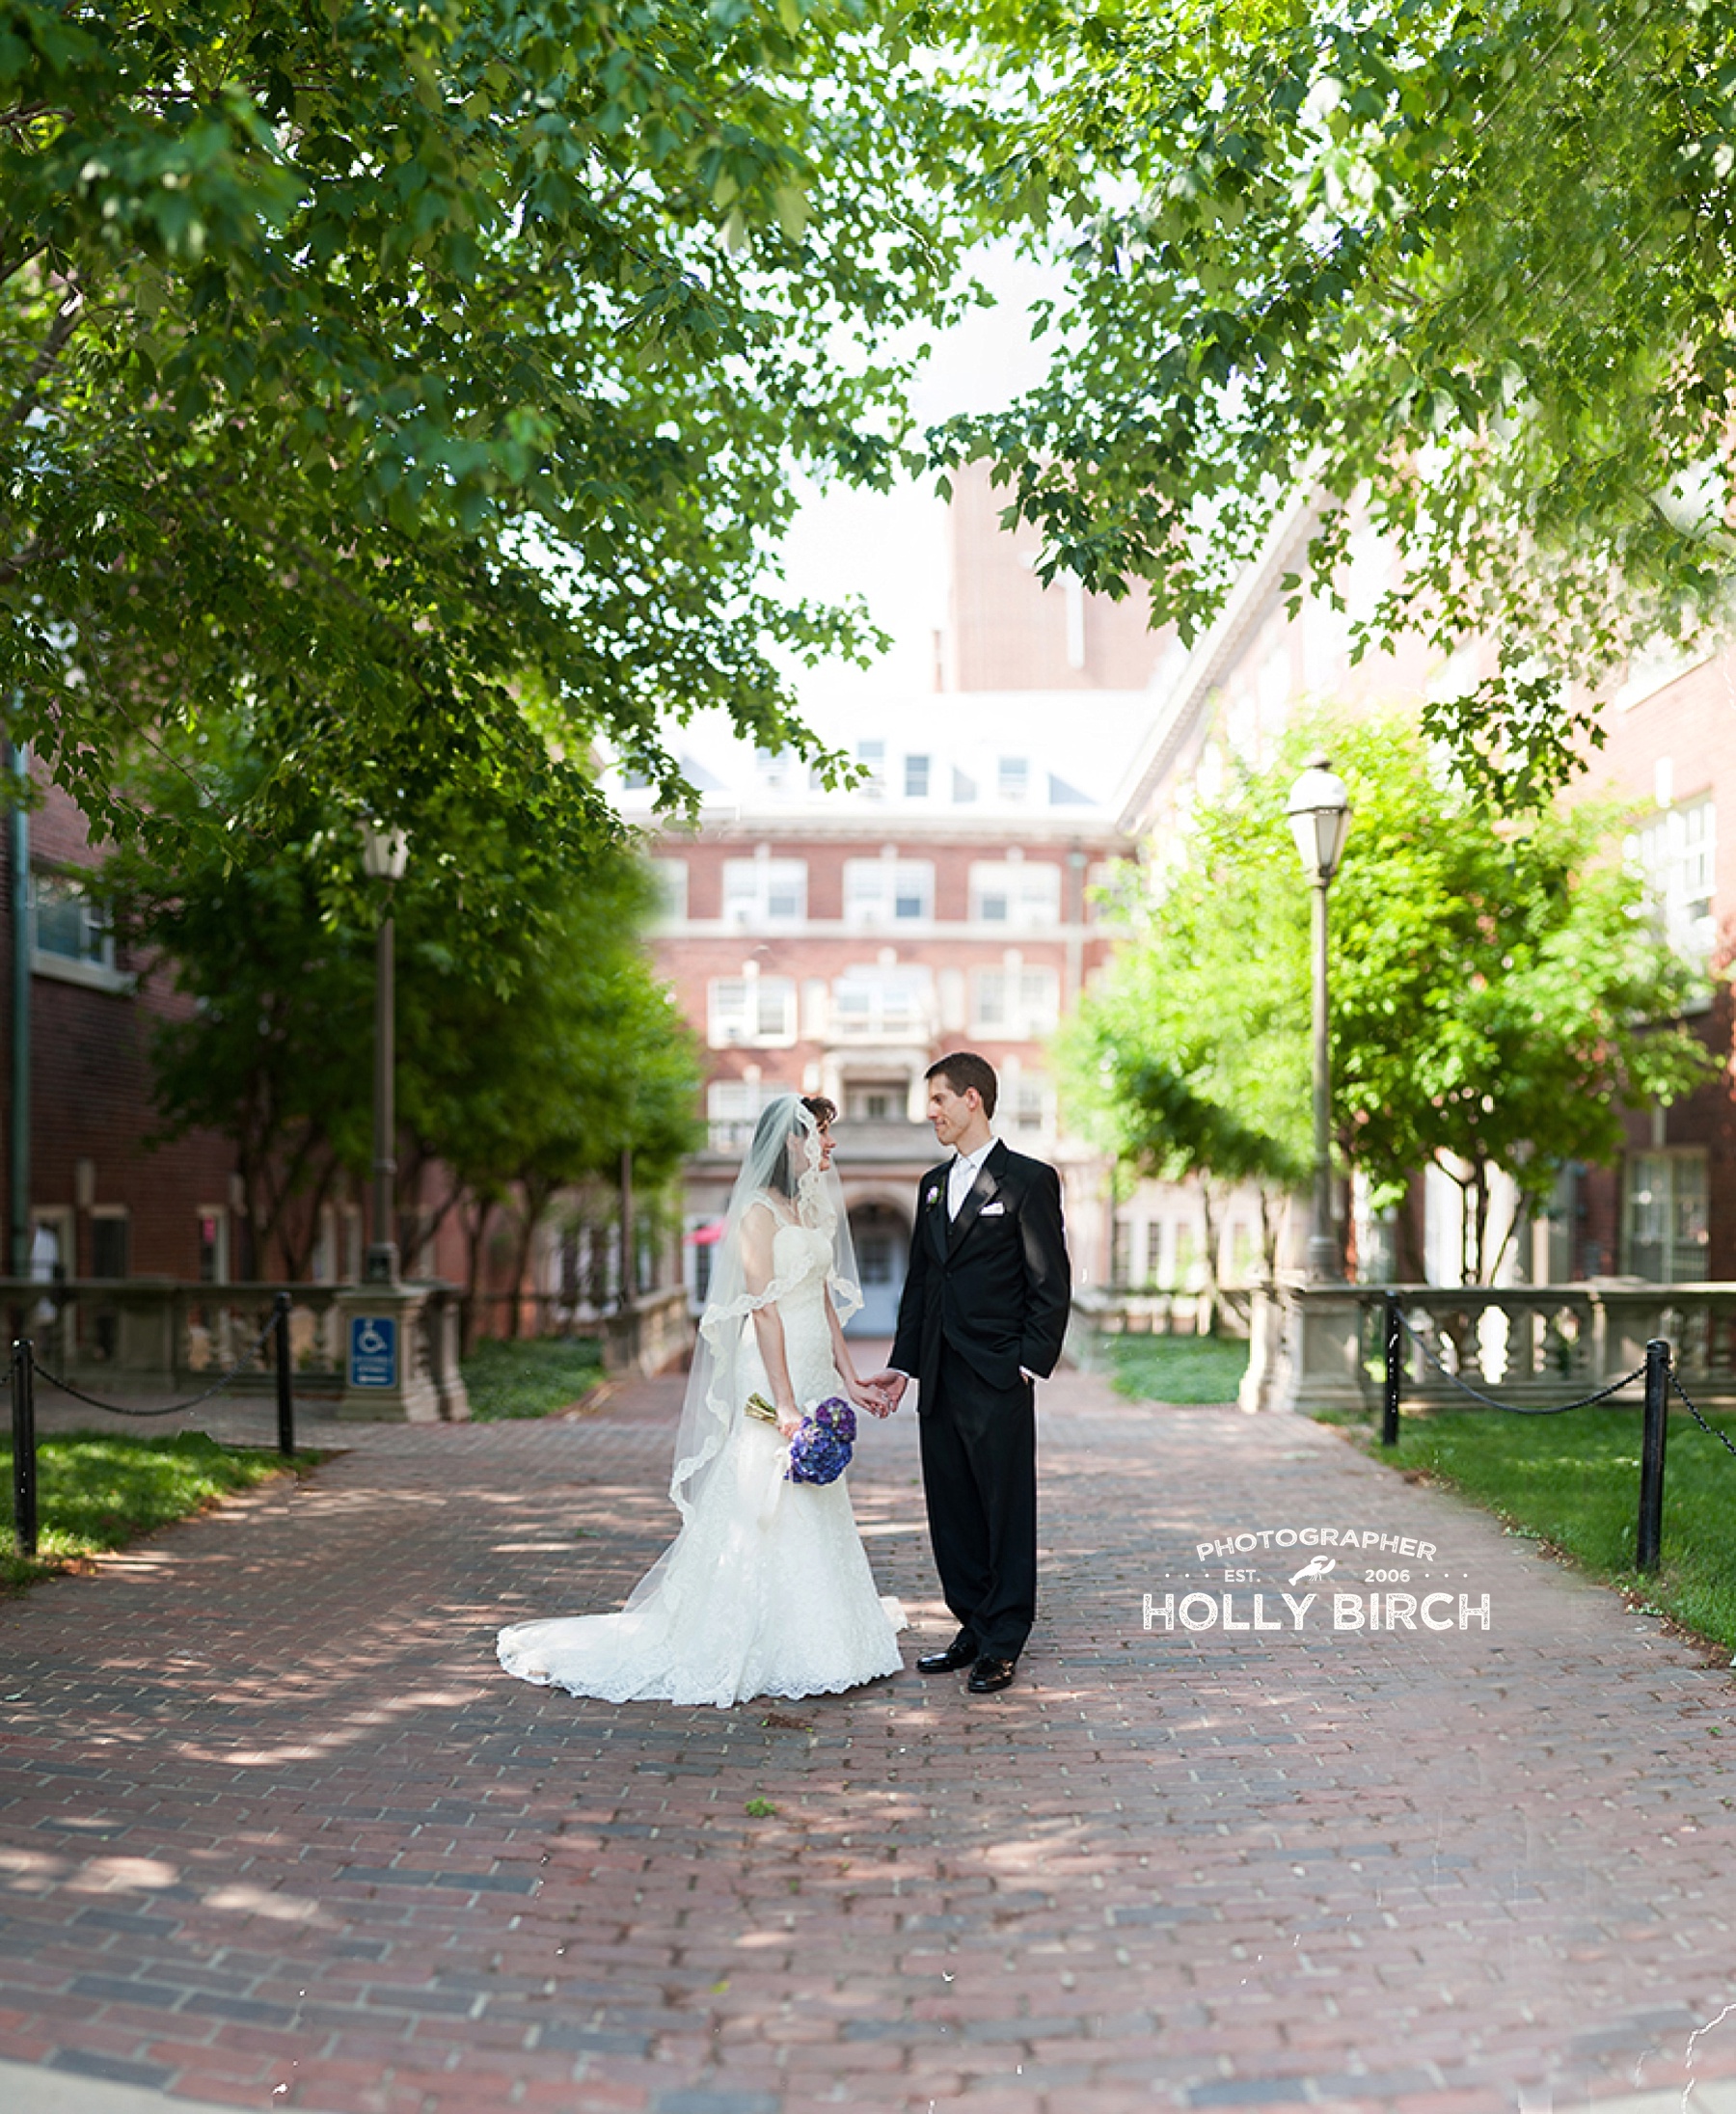
I focus on my subject, then take one “center” image that will be my “marker” image when I go to stitch them later. Then I move in a grid pattern usually starting at the top left of my eventual frame to capture a handful of images. I think the most I’ve ever taken for a Brenizer method panorama is around 25. But know Ryan himself has pushed the limits and stitched together more than 100 photos before. You need to have a really fast memory card, camera, software and laptop to handle that kind of load.
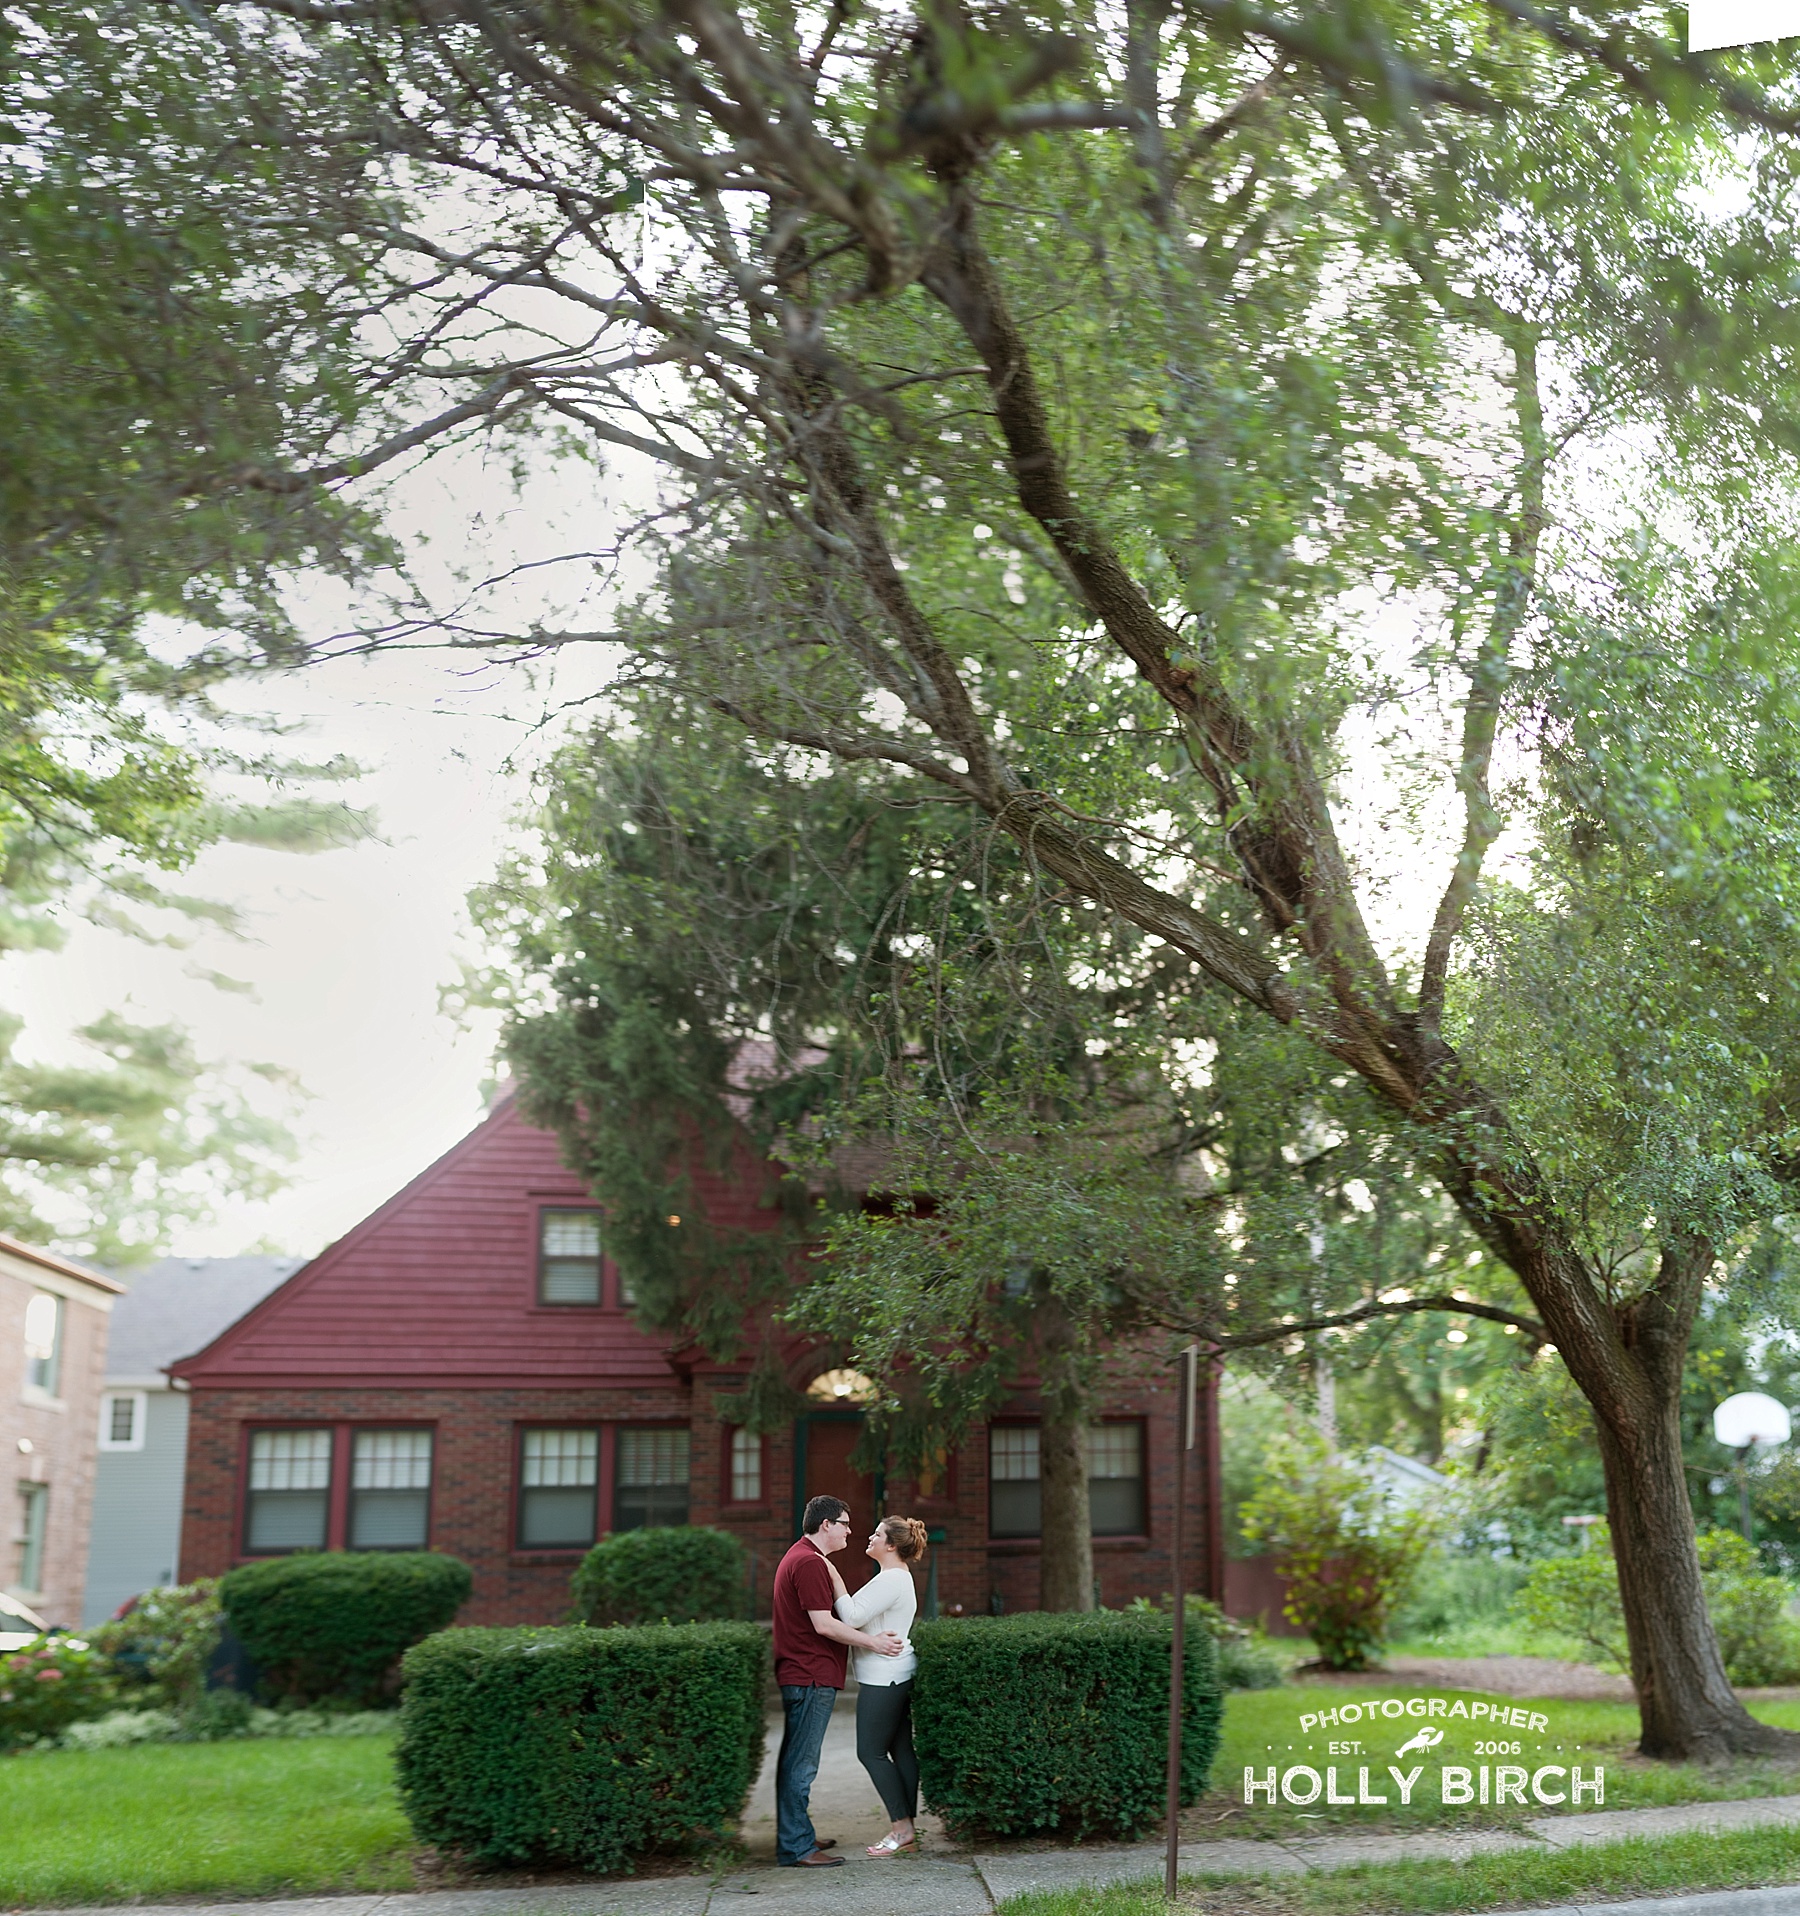
Once you have your images, load them into whatever editing program you use. I use Lightroom to make sure they are even across the board and make sure there is no vignette added that will make them look funny once they’re stitched. You can stitch them in Photoshop, but honestly, Photoshop doesn’t do a great job at this and it takes FOREVER. I’ve been using a program called AutoStitch, but there’s also AutoPano Giga and a few others out there. There are free and paid versions of most of these programs so you can try before you buy.

There is usually a bit of cropping involved once you get the “output” from your stitching program. This is normal though just due to the nature of this method, especially if you’re not using a tripod (I usually am not). There’s even a calculator you can use to roughly determine what your final image’s stats are — effective aperture, focal length, etc. And it’s usually something crazy like f0.8 at 12mm, which is not an aperture/focal length combination that exists in today’s lenses.
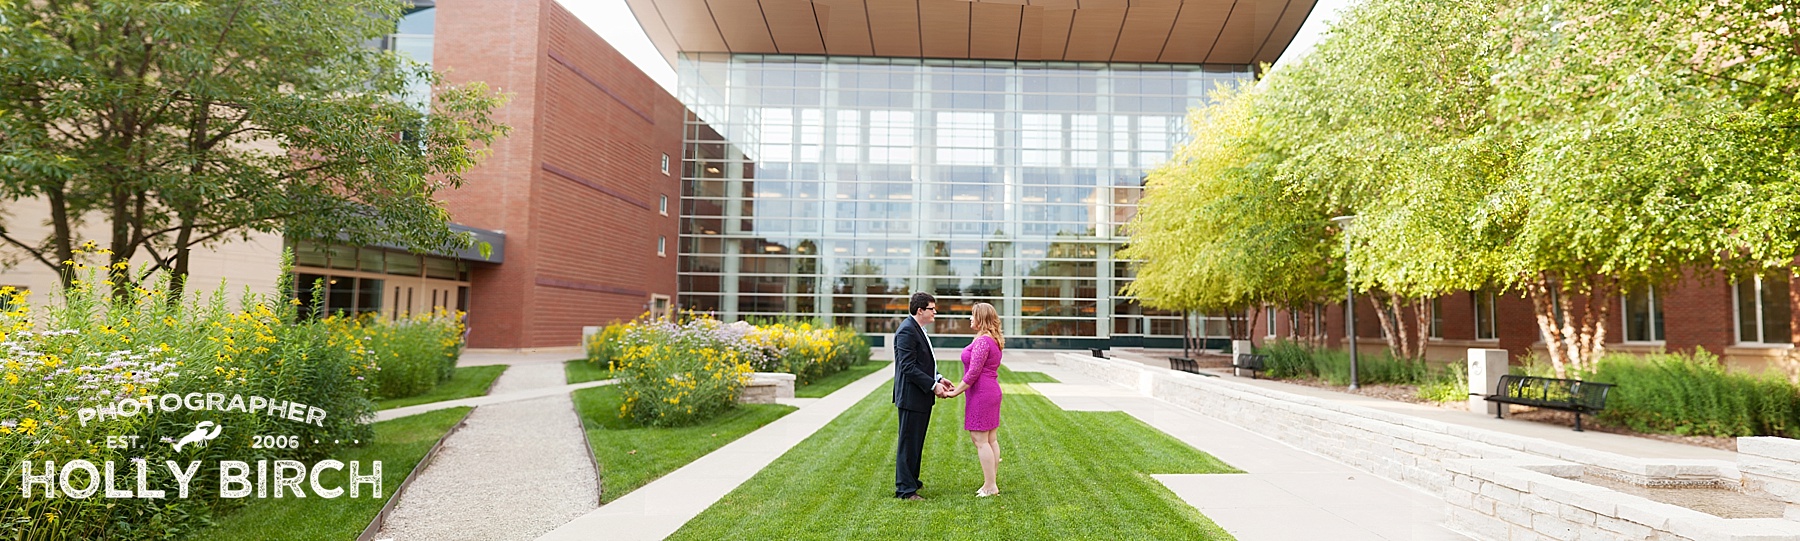
In summary, the Brenizer method is a fun tool to try out and to potentially offer a unique image or two to your clients. At the very least, I think it has strengthened certain skills for me and given me a better understanding of focal length, framing, aperture, and more! Can’t wait to try my next one!